
3D Printing with Tinkercad
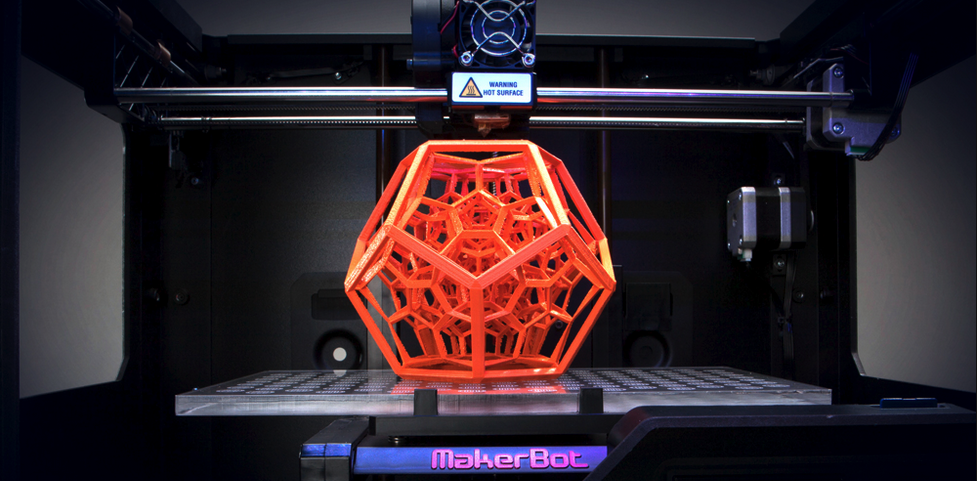
3D Printing can be defined as "A process for making a physical object from a three-dimensional digital model."
|
A simple, online 3D design/3D printing tool accessible to virtually any person interested in art and design.
|
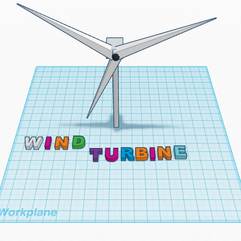
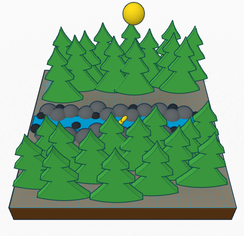
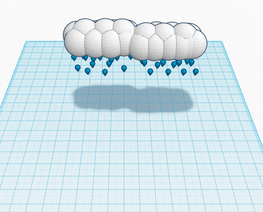
Examples: Science + Art
|
3D MODEL PROJECT |
|
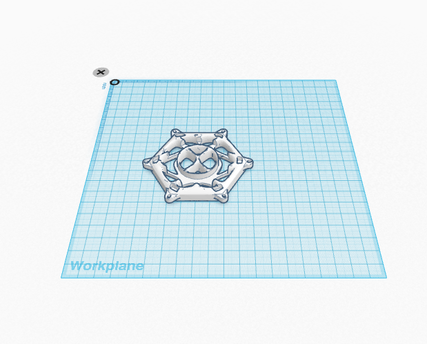
Original ArtTech Base Design
This design was created by my STEM to STEAM professor, Cindy Maguire. It has been designated as the base piece
for our project. Our goal is to design a 3D form that includes a simple circuit with a LED light. My primary objective is to use the Tinkercad 3D modeling tool to edit this piece in a unique way, by tapping into my innate creativity and experimenting with the processes of design.
for our project. Our goal is to design a 3D form that includes a simple circuit with a LED light. My primary objective is to use the Tinkercad 3D modeling tool to edit this piece in a unique way, by tapping into my innate creativity and experimenting with the processes of design.
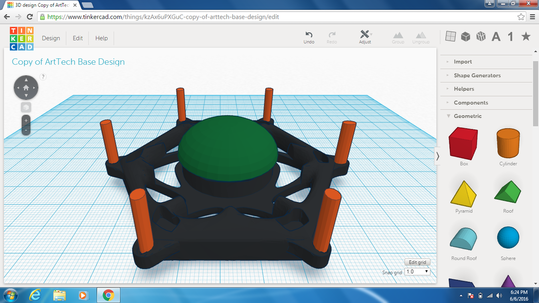
Edit of ArtTech Base Design
The following edits are my own, based off of the original:
In our class, we first established a definition for STEAM: Incorporating art and design into the fields of science, technology, engineering, and mathematics. After seeing a multitude of videos, we were able to gain a basic understanding of how to implement art and design into STEM education. Using this knowledge as well as our creative minds, we each began to work with Tinkercad to create a 3D form that will eventually be printed as the base of a circuit.
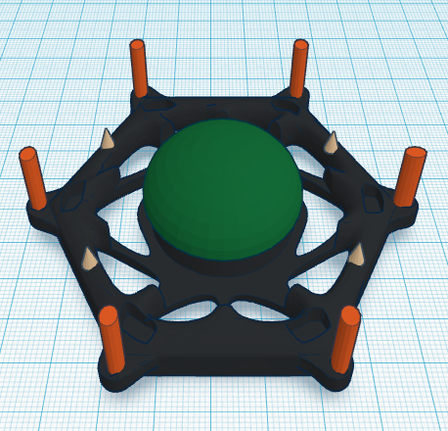
Looking at the original design, my brain felt overwhelmed with it's intricacy; my initial step was toward covering the center piece, the circle. In this process I used a half sphere to create a hole over the center piece. After that, I added a green-colored half sphere. This was extremely trying on my depth perception, being that one must continually move about and around the design to account for our 2D computer screens. However, I was able to understand that design can be tedious and taxing. One cannot merely implement an idea hastily, the design must be examined and reexamined. After adding the green half sphere, I changed the color of the base to charcoal grey.
Next I decided to put short cylinders on each of the hexagon's points. Originally, I had imagined them being taller, but my professor kindly reminded me that without attaching the cylinders together, they will most likely not be good to print. So I took that advice and cut them in half, and they definitely look better this way to me. I made them orange. I had to make sure I was covering the holes on the hexagon's points, with each cylinder.
Lastly, I took the cone shape and made four small ones to fit around the edges of the base design. Well, originally I had 10, but I deemed that it might be too much of a good thing.
Overall, I enjoyed the creative process. I look forward to coming up with new ideas for other projects. My design is being printed today, Friday, June 10 2016.
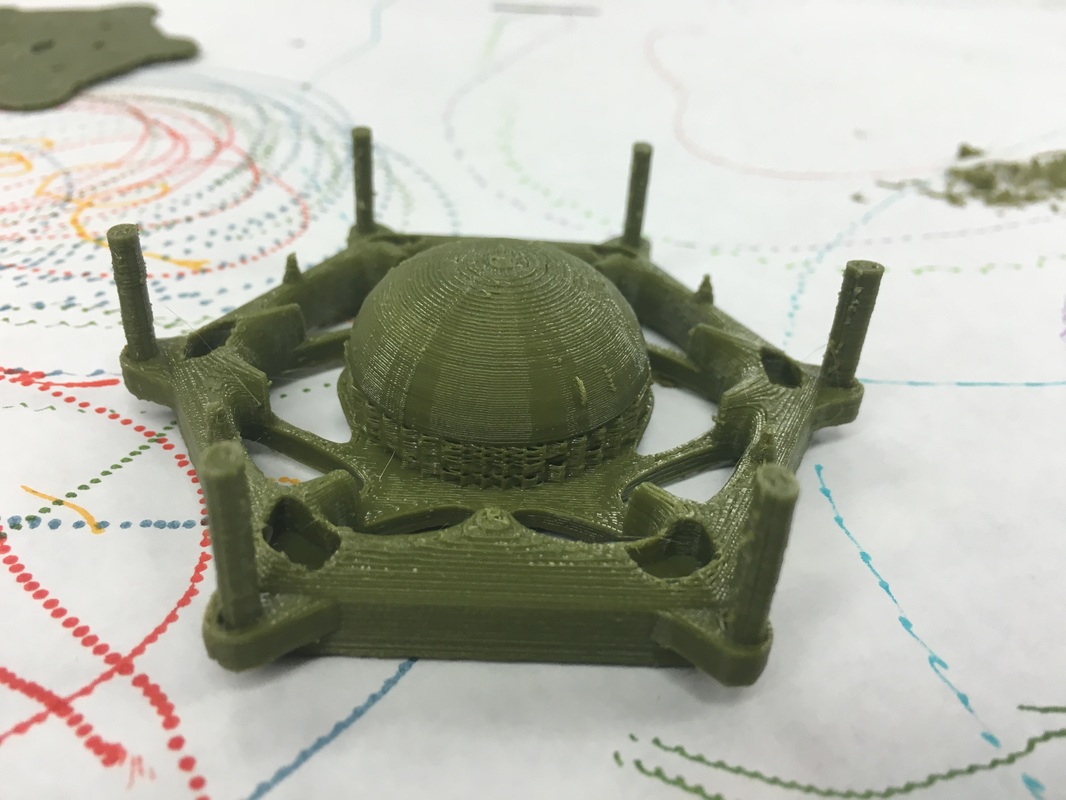
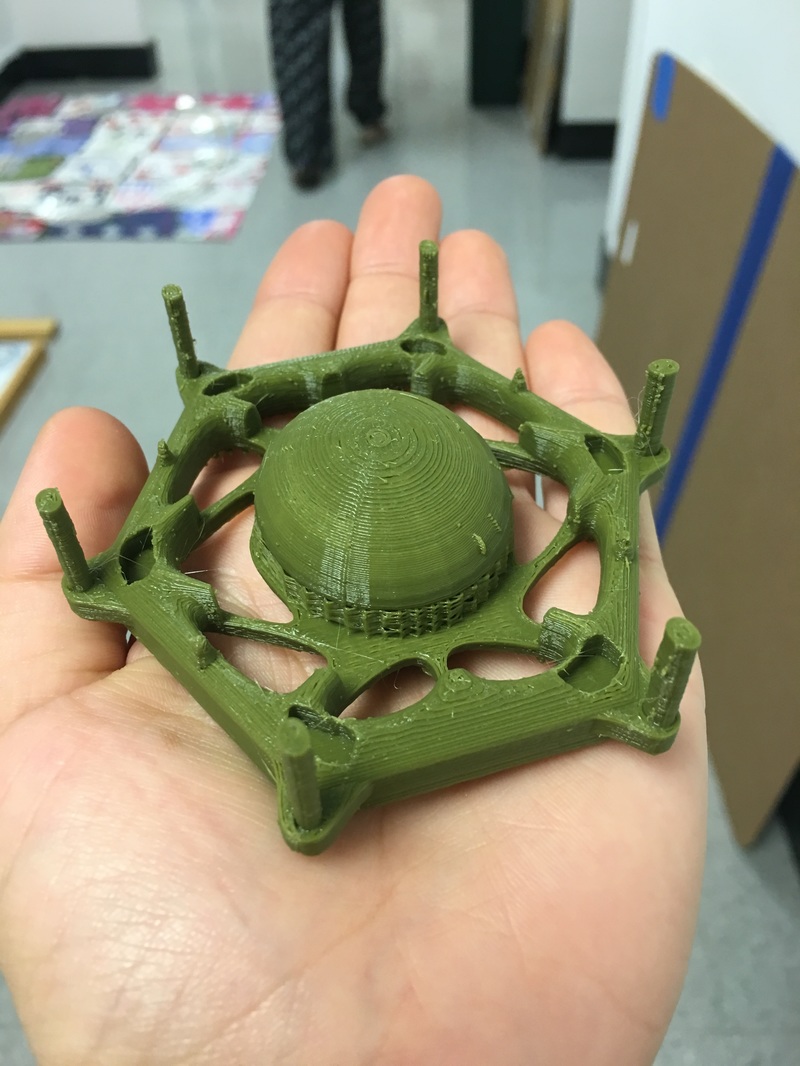
Here is the final product of my 3D print model. I chose to print it in an army green color.
